

Beginner Oil Painting Techniques
What I Wish I Knew About Oil Painting
So you want to learn how to oil paint? Welcome! You’re in the right place (and in very good company). When I first started, I was completely enchanted by oils — their rich colors, buttery textures, that timeless romance — but also totally overwhelmed by the options: brushes, mediums, surfaces… and yes, mildly convinced I’d burn the house down. (Spoiler: I didn’t, and you won’t either.)
After over a decade of working in oils and teaching hundreds of beginners, I’ve learned what actually matters when you’re starting out — and what’s just noise. This post is here to demystify the essentials, help you sidestep common pitfalls, and make your first experiences with oil painting a whole lot more joyful.
Mindset First
Oil painting is a long game. It rewards patience, curiosity, and repeat practice — not natural “talent.” Instead, define your identity as an artist by the habits you can control, like showing up to practice! If you’re new, your job isn’t to make perfect paintings. It’s to make a lot of paintings. The messy, frustrating, “bad” ones are what will get you to the good ones.
Let yourself be a beginner. Show up often. Be brave enough to make something imperfect.
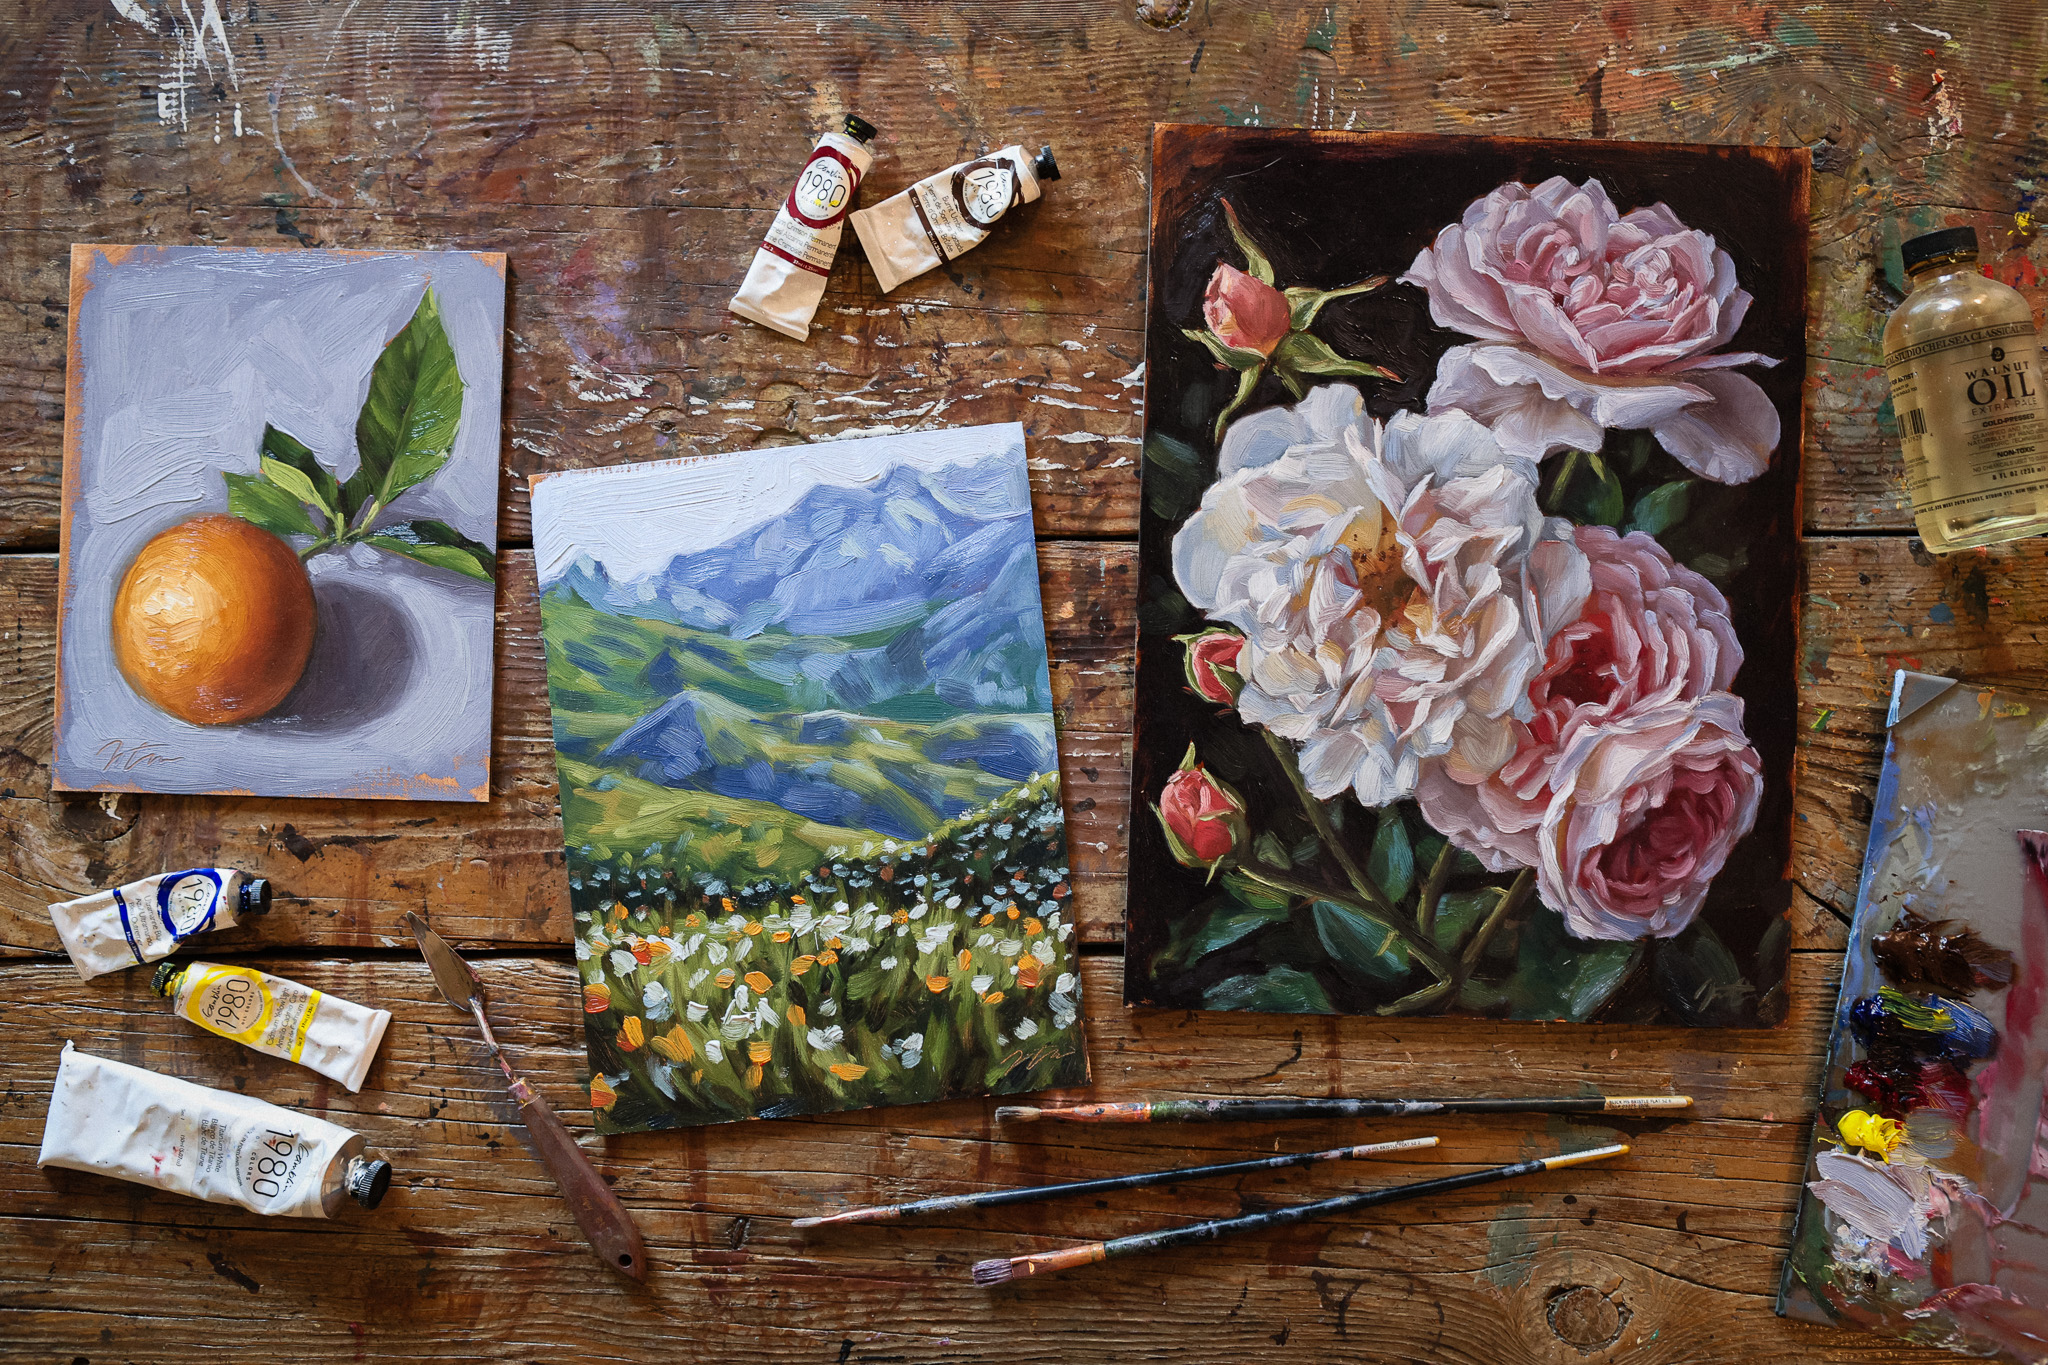
Materials: Less is More
You don’t need an entire aisle of art supplies. Start with just enough to set yourself up for success:
- A set of flat natural bristle brushes in a few different sizes, with a small round for detail work and sketching.
- A limited palette of artist-grade oil paints. A small selection will give you a huge advantage as you learn to mix! (I’d start with titanium white, cadmium yellow light, alizarin crimson permanent, ultramarine blue, and burnt umber — all available in Gamblin’s 1980 line for a fantastic value).
- A sealable jar with one of the many safe solvent options available today (like Gamsol or Eco-Solve). If you prefer not to use solvents at all, safflower oil can clean your brushes and linseed or walnut oils make great thinning mediums
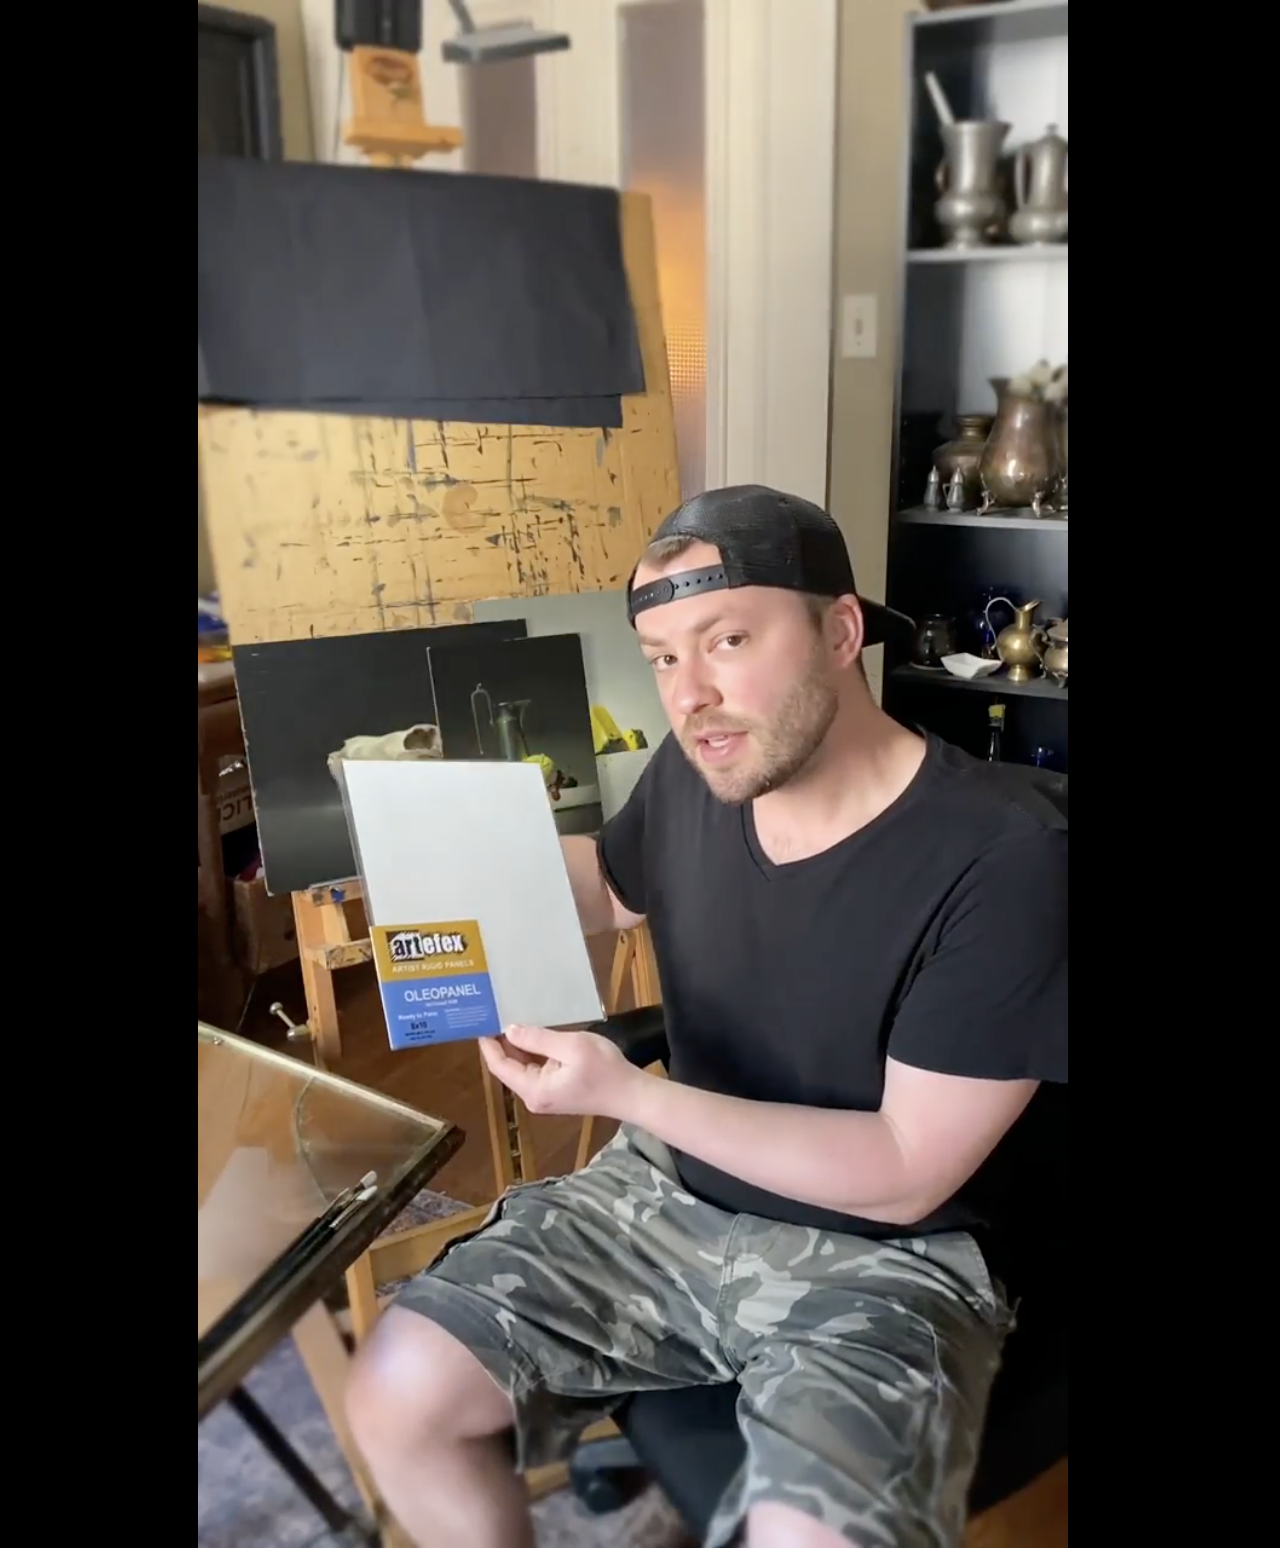
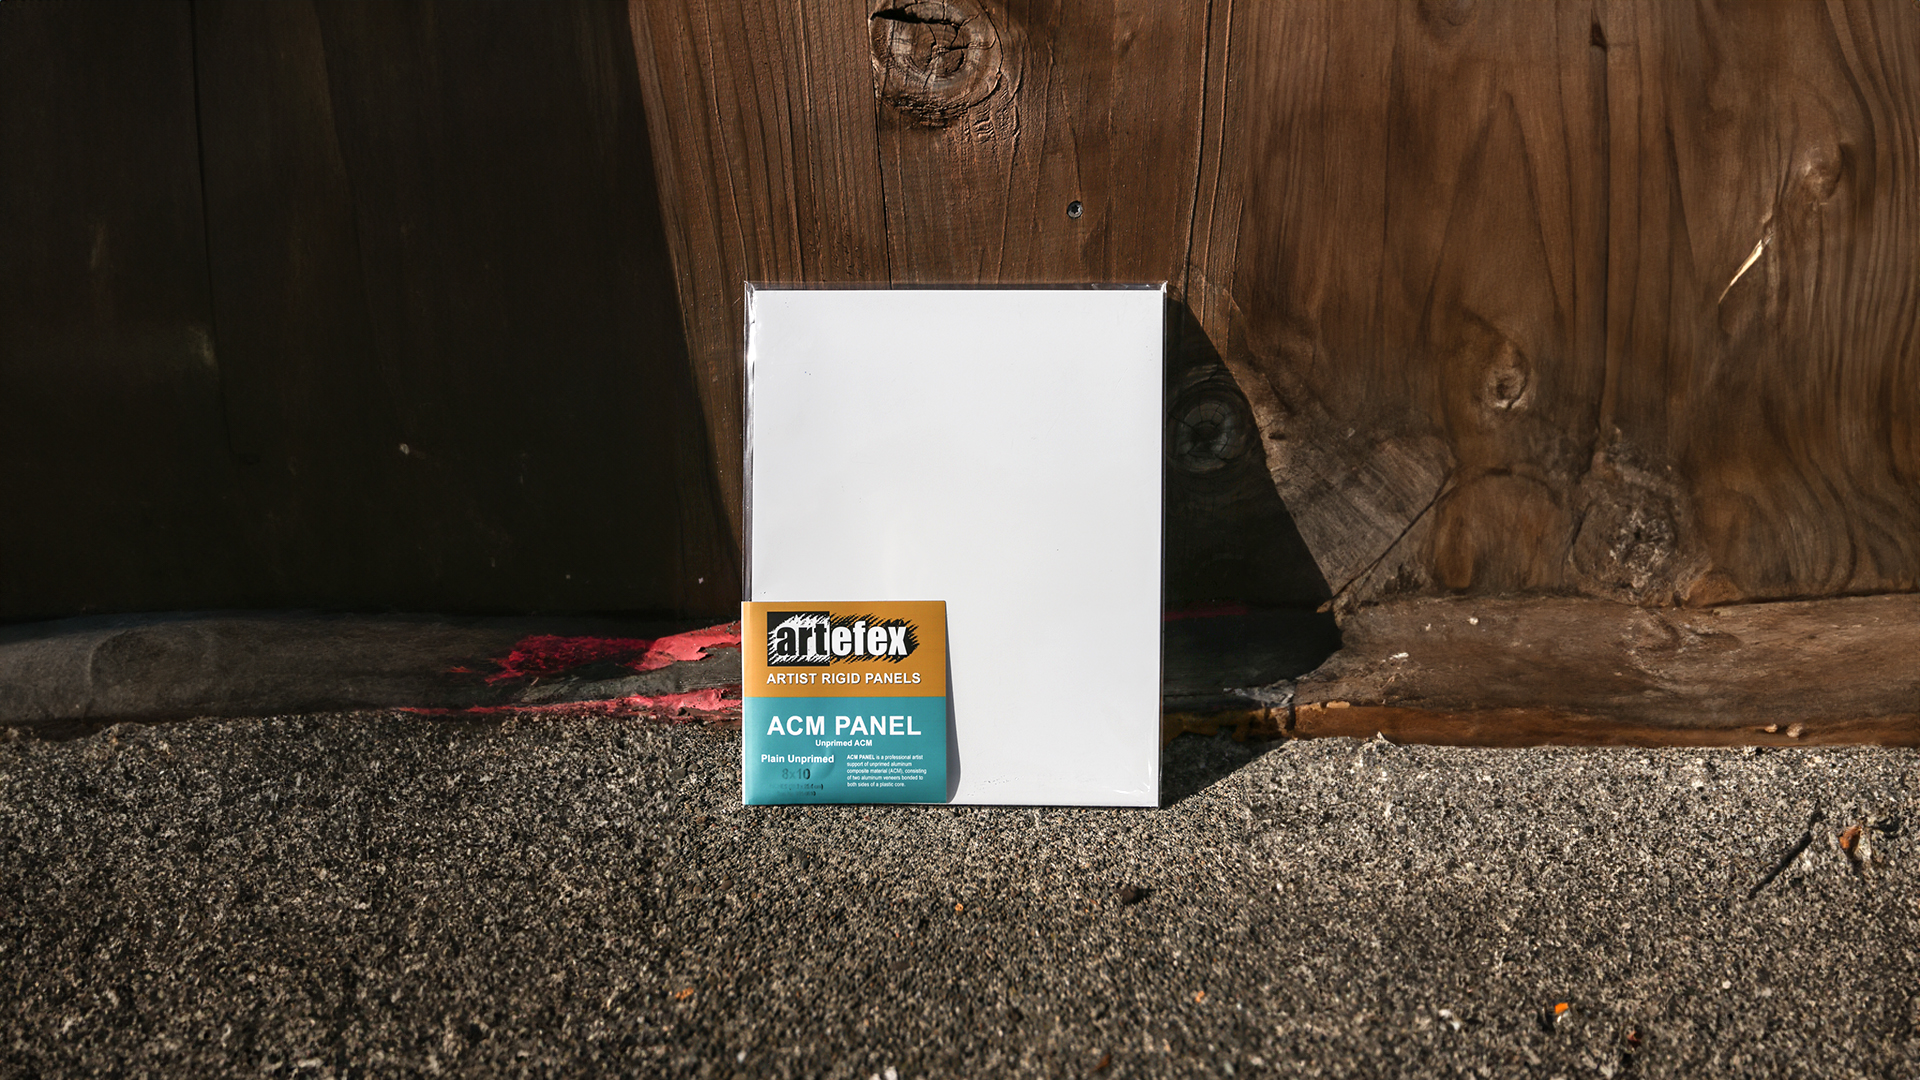
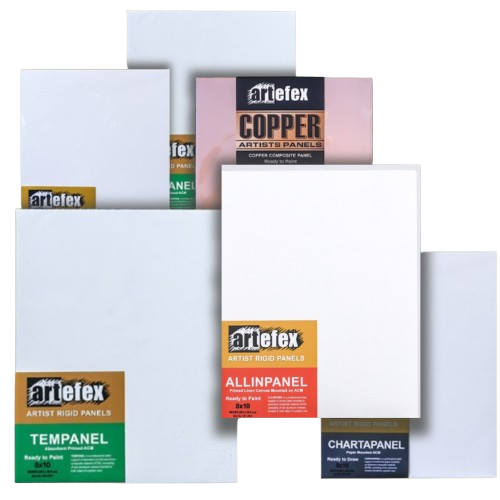
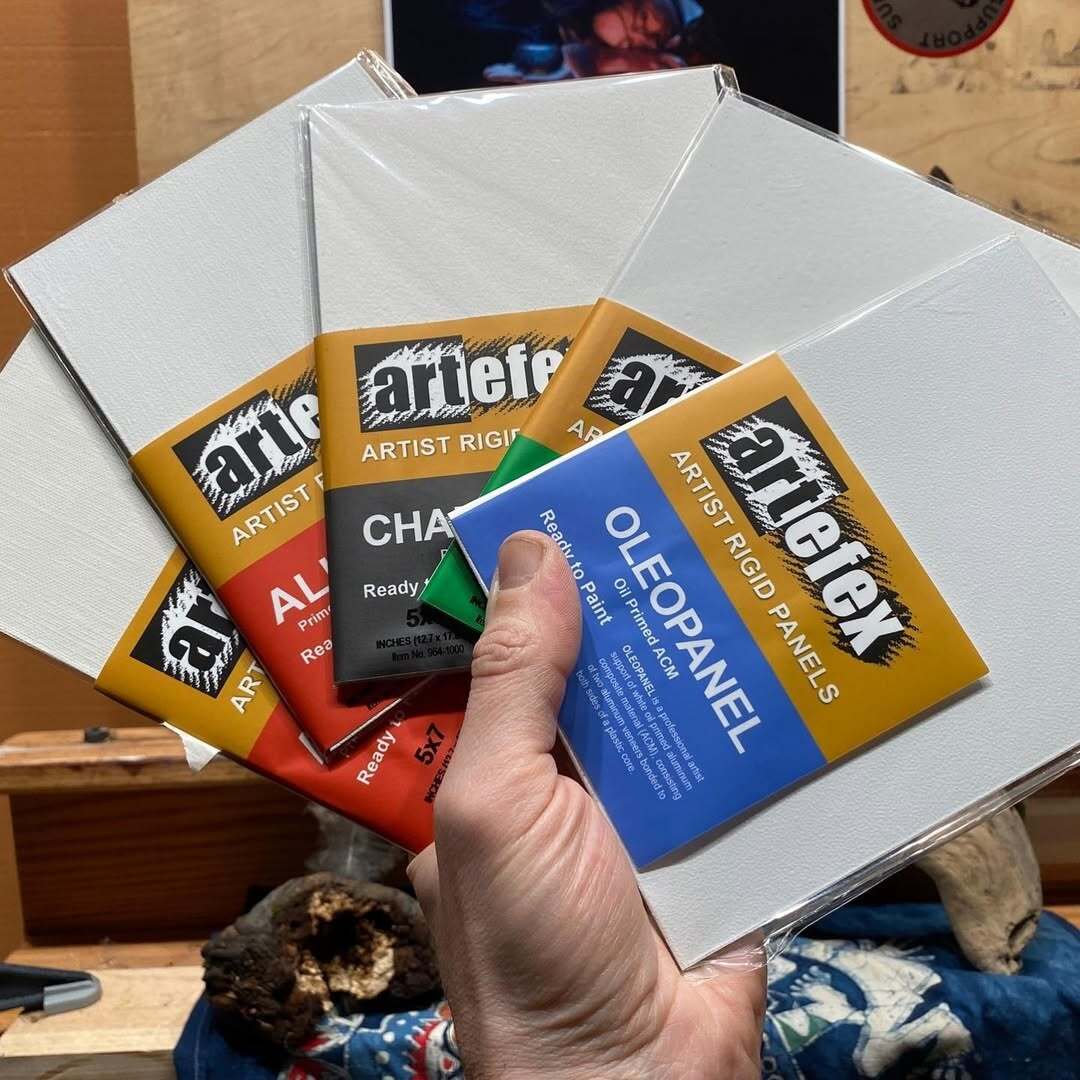
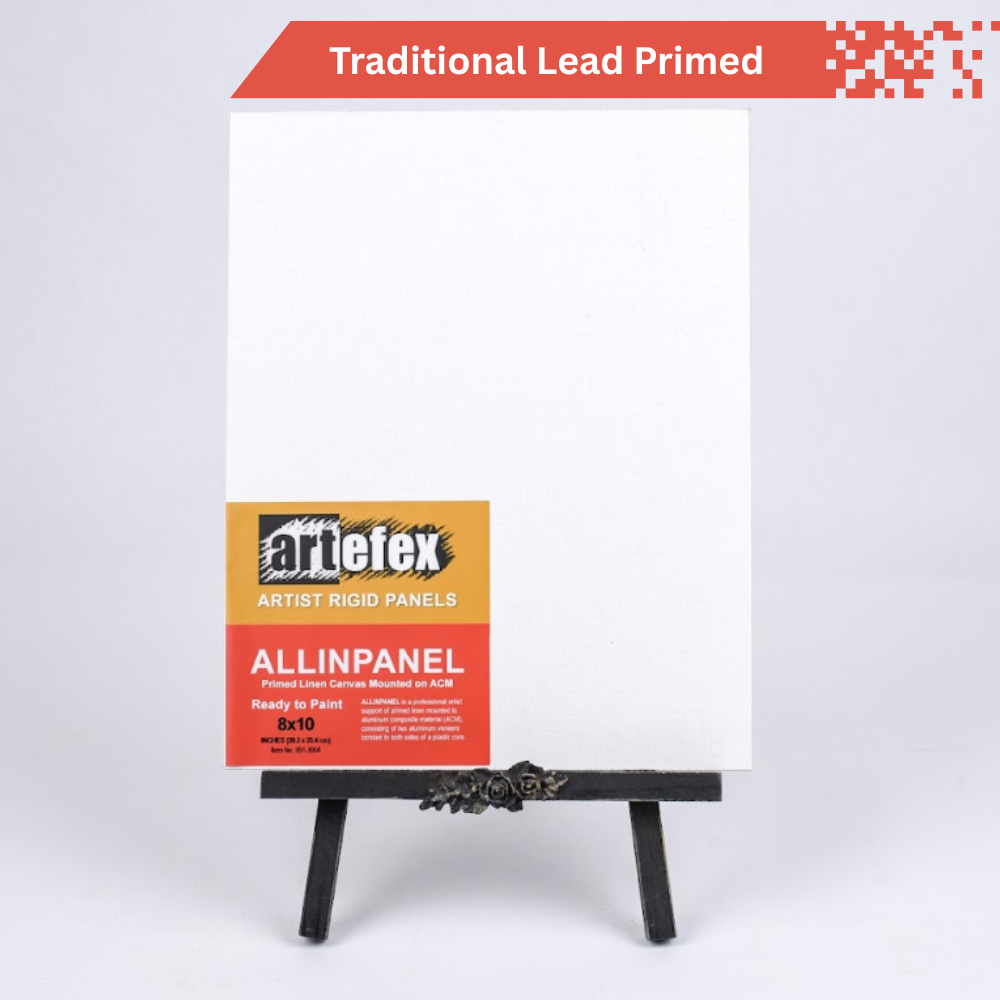
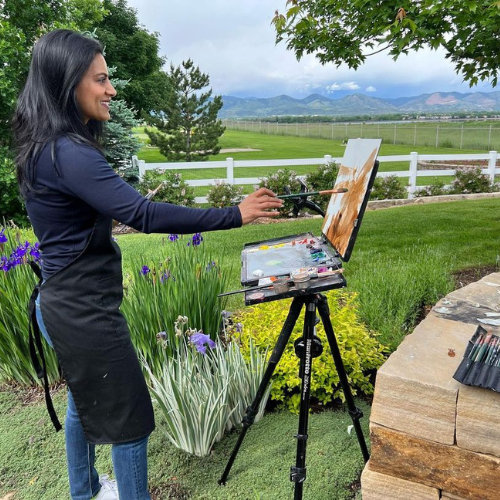
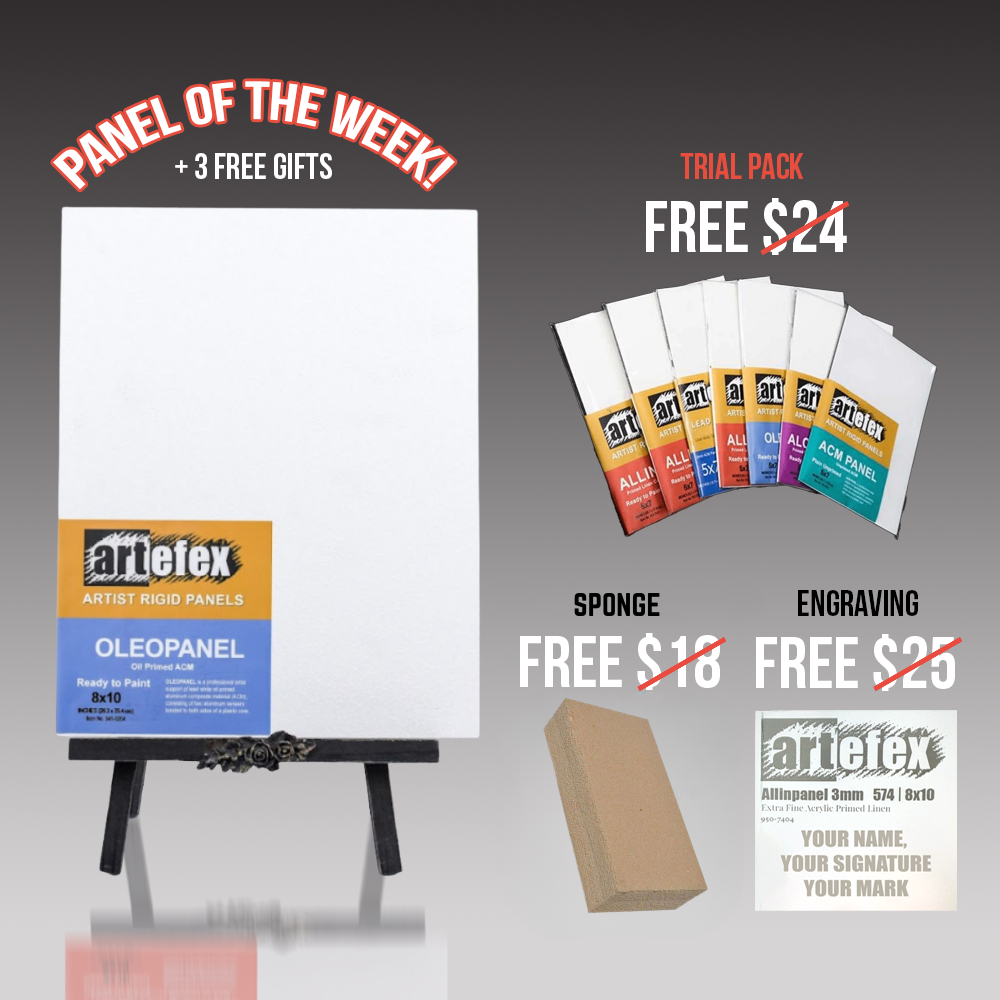
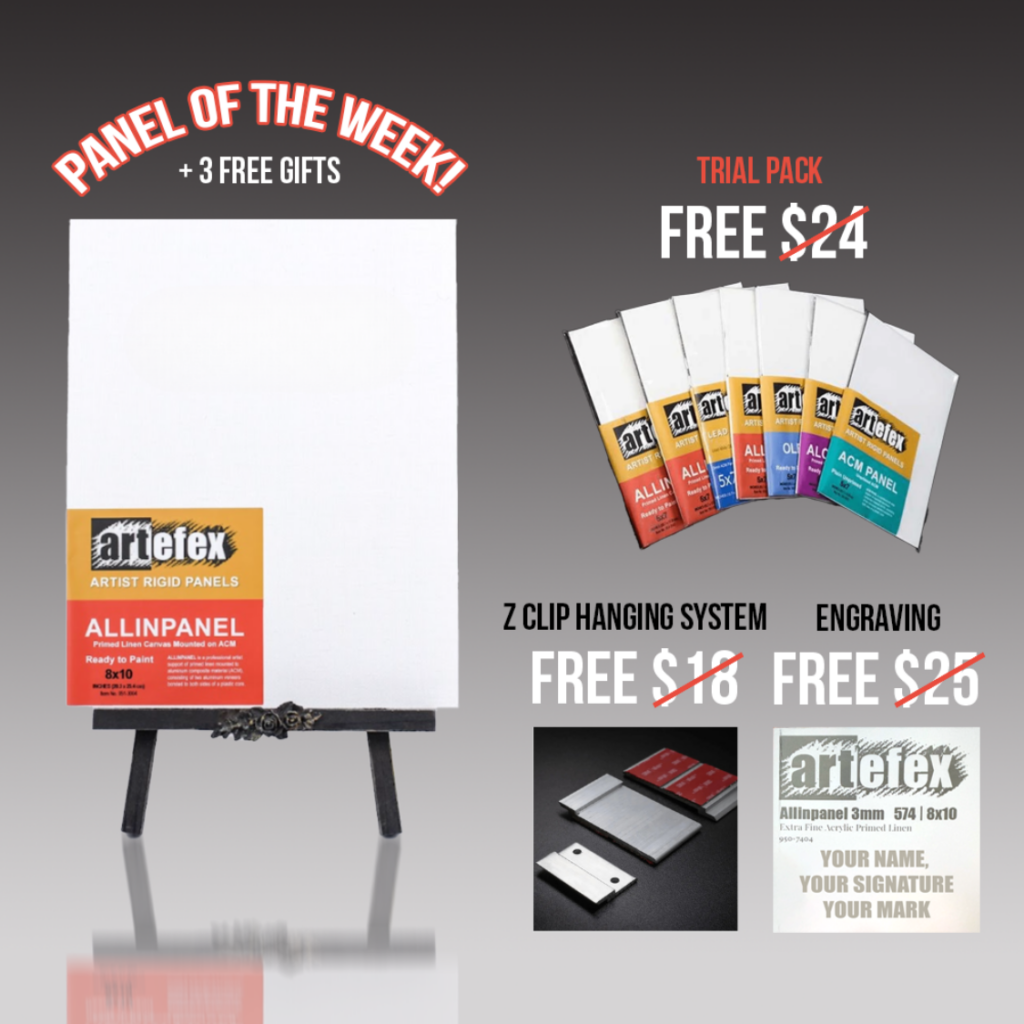
- A reliable surface to paint on, of course (like my go-to Artefex panels in their fine oil primed linen).
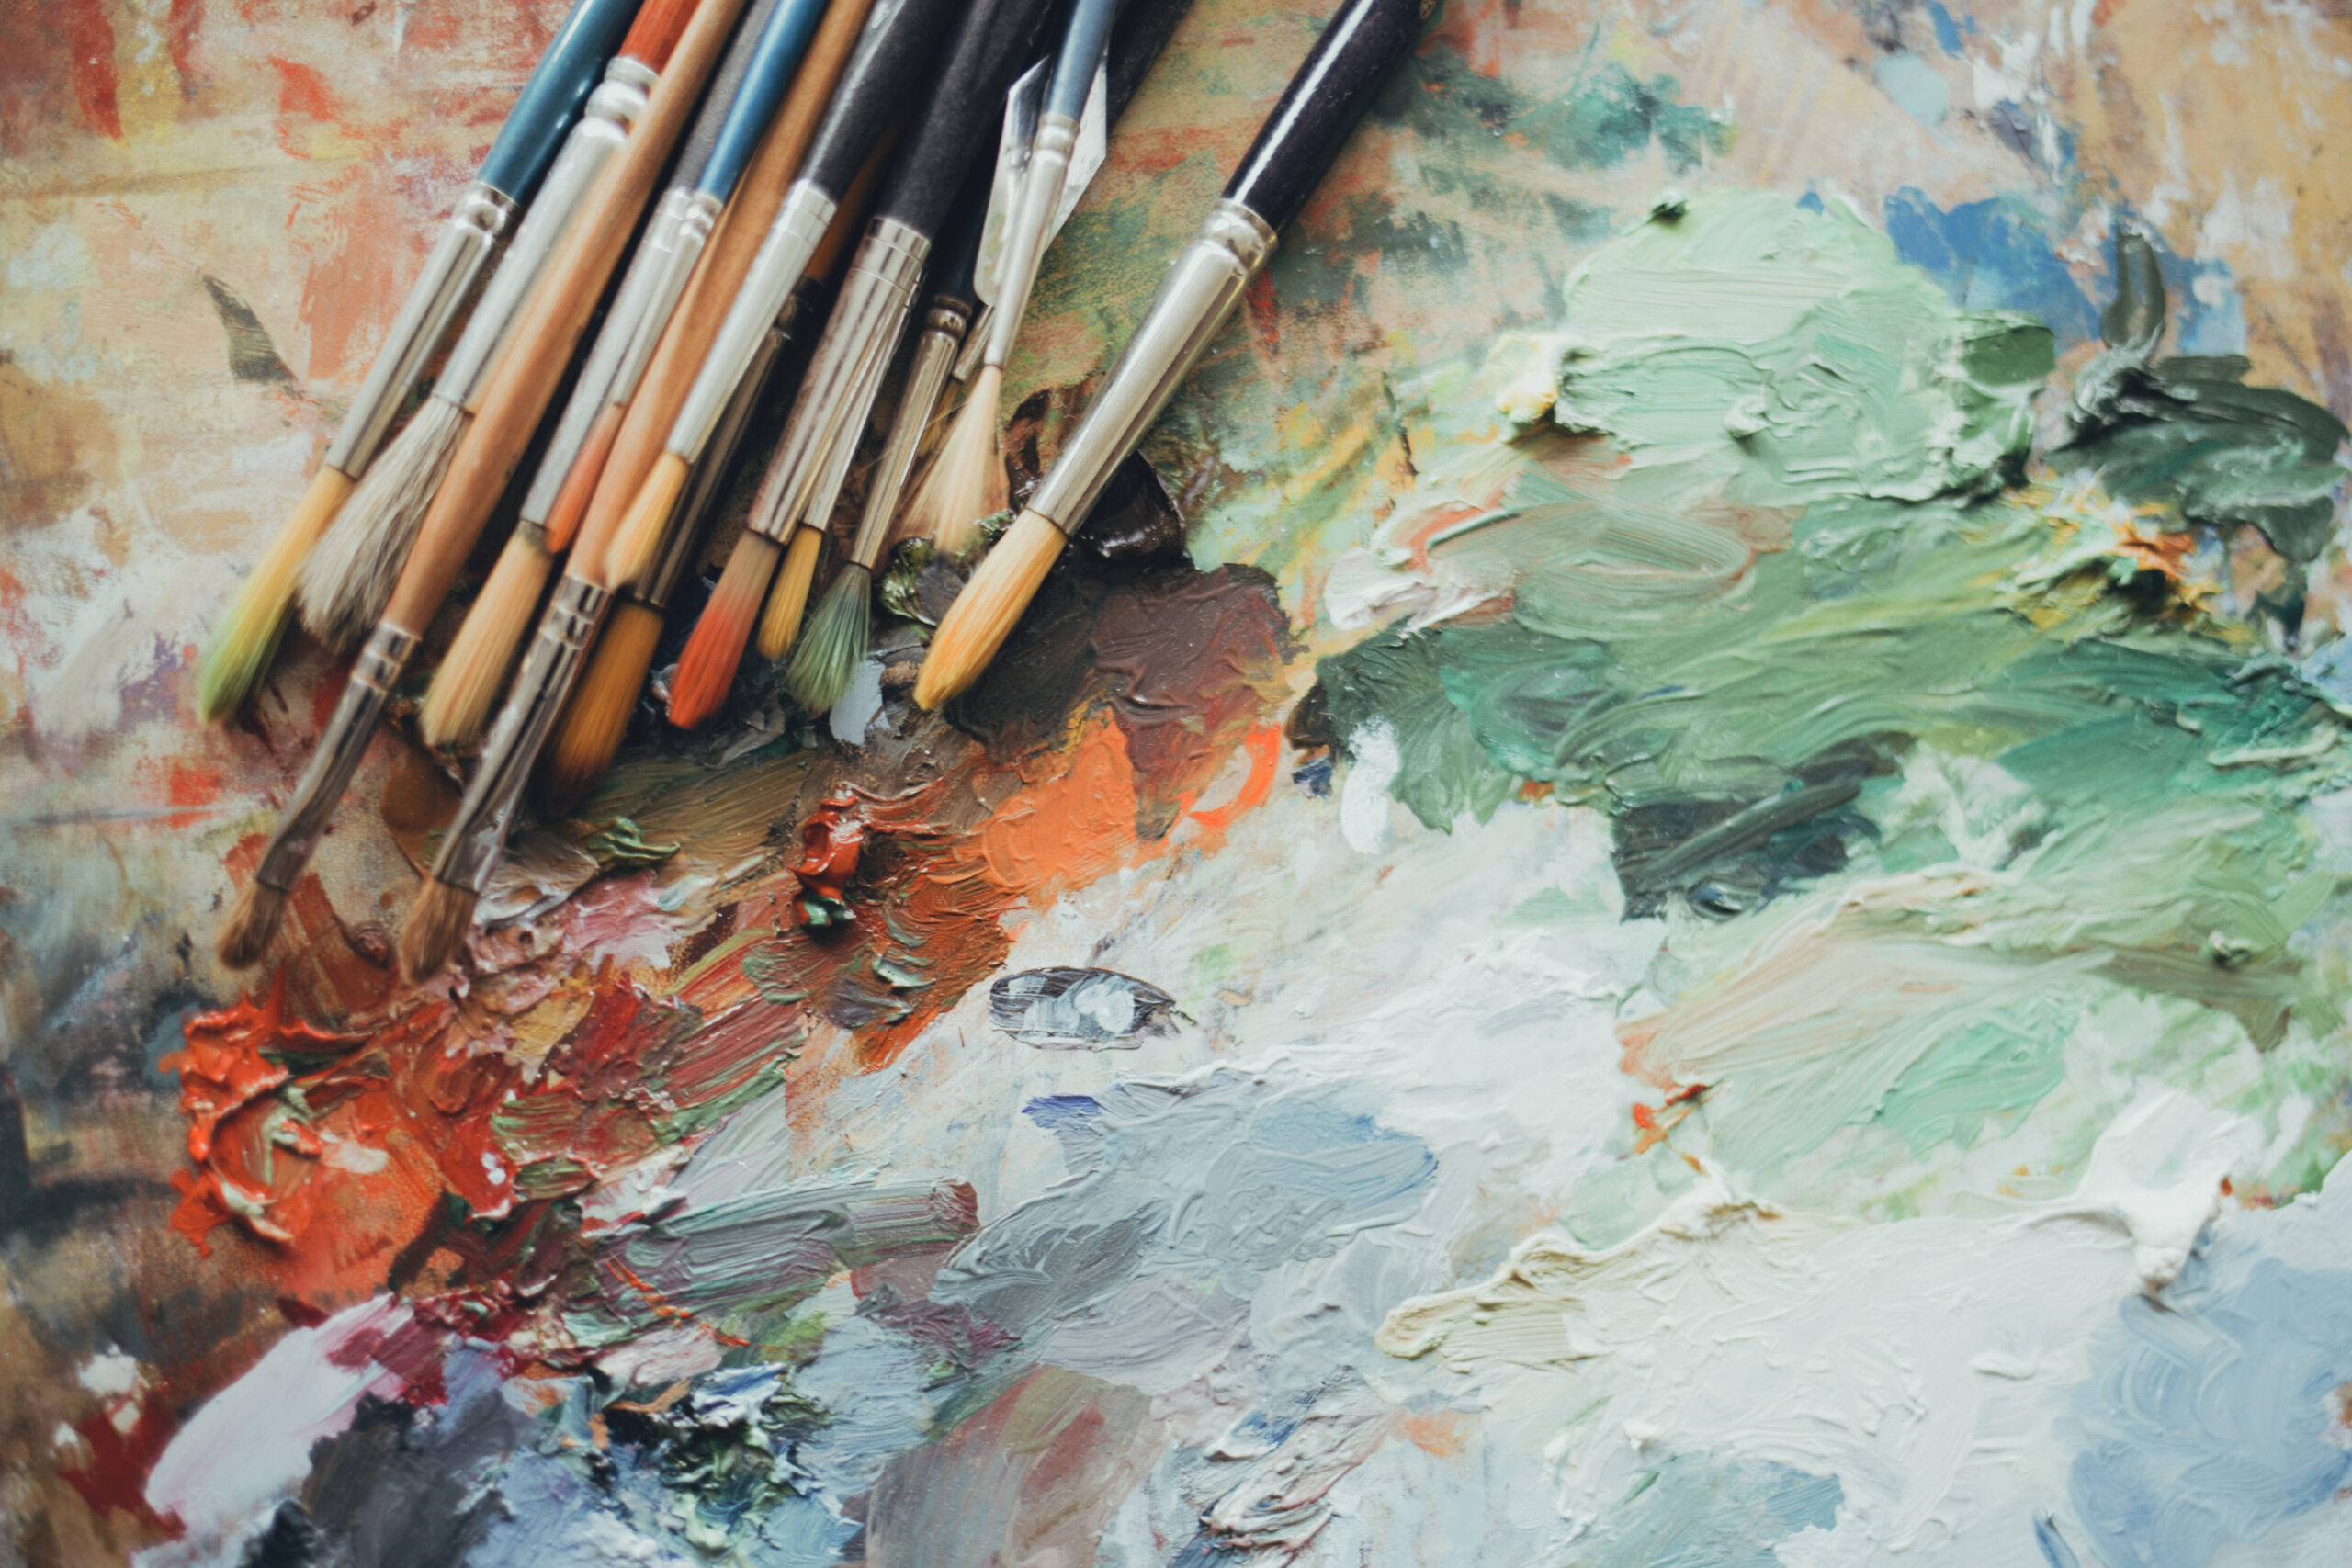
- A glass palette (which you can easily clean up with a paint scraper) or even a disposable paper one will do. I like mine grey toned to make color mixing much easier.
- Finally, a sturdy paper towel and a swish of solvent or oil can clean your brushes daily, while some dawn dish detergent and water or a conditioning soap like The Master’s Brush Cleaner will give you a proper deep clean. (Just make sure you leave those paper towels laying flat or hanging to dry before you toss them. This will allow the materials to oxidize safely and prevent any possible fire risk)

Lean in to the Magic of Oils
Muddy colors? Long drying times? The fact that oils stay wet for ages and blend so easily are common complaints, but I believe these features are actually their superpower. When you lean into them with the right techniques, you’ll create the richest, most luminous, expressive paintings!
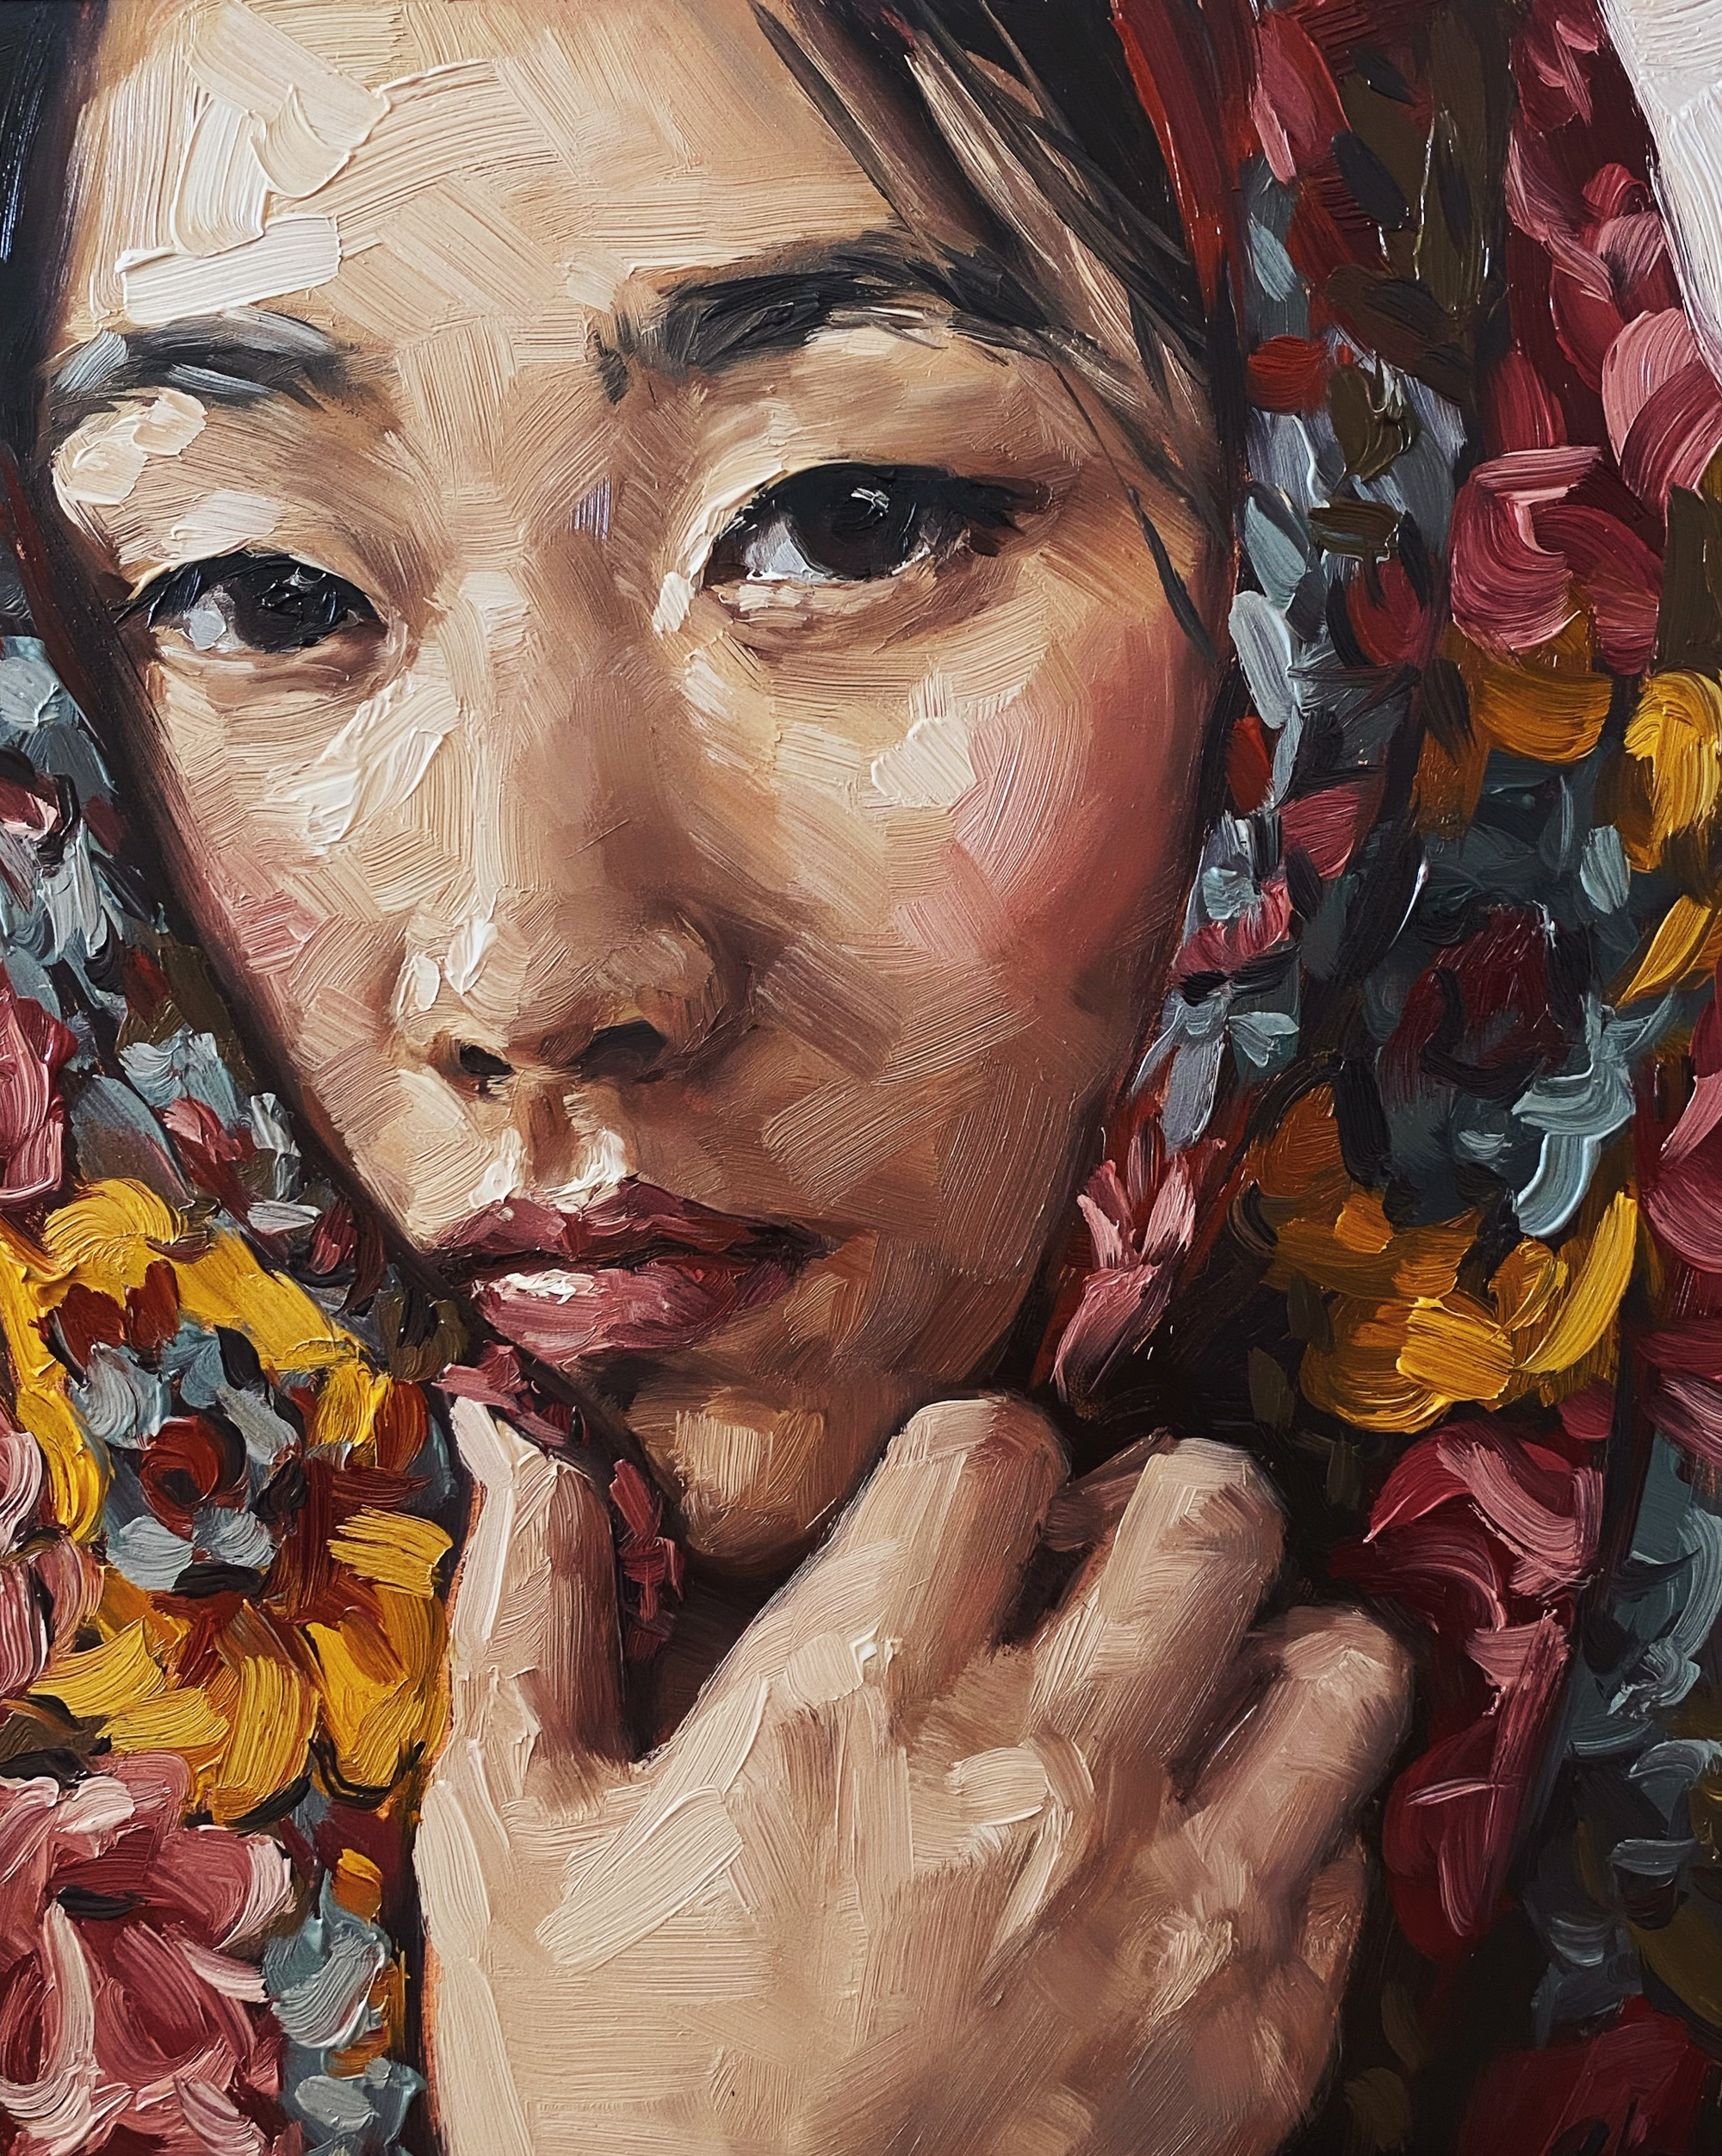
The best way to do this as a beginner is by painting Alla Prima, an Italian phrase that means “at first attempt”, or painting wet-into-wet. Start with smaller compositions that you can tackle in one session. This will give you the advantage of being able to wipe away and correct mistakes with ease, while staying loose and expressive. Think of it like sculpting the wet paint!
Your brush handling goes a long way here, with firm pressure giving you more crisp edges, and soft strokes with a dry brush acting like a magical instant blending tool. The amount of paint you use matters too.
You may have heard the phrase “fat over lean” used in oil painting. This traditionally describes how oil-rich layers of paint and medium should be applied last to keep your work archival, but did you know the concept applies to working Alla Prima too? We work thick over thin when painting wet-into-wet. This means that your earliest application of paint will be the thinnest (with just paint or paint and solvent). As you cover the canvas and go in with fresh colors, you’ll progressively load up your brush with thicker mixes. This will allow your fresh colors to lay down smoothly over the thinner mixes. This is what prevents those “muddy” colors everyone hates!
Squint More, Paint Better
If you wear glasses, take them off. Seriously. (Or if you’ve got great eyesight, step back and squint.)
You’ll see shapes and value patterns more clearly this way — and you’ll be less tempted to chase unnecessary detail too early. Learning to paint is learning to see the big picture first.
Fall in Love with the Process
There will always be a messy middle phase — usually you’ll find the solutions if you just keep painting. Celebrate what your failed experiments have to teach you. There’s more value in them than you realize now. Your awkward early work will be the iceberg beneath the surface of your best future portfolio!
Want to make your beginner setup even easier?
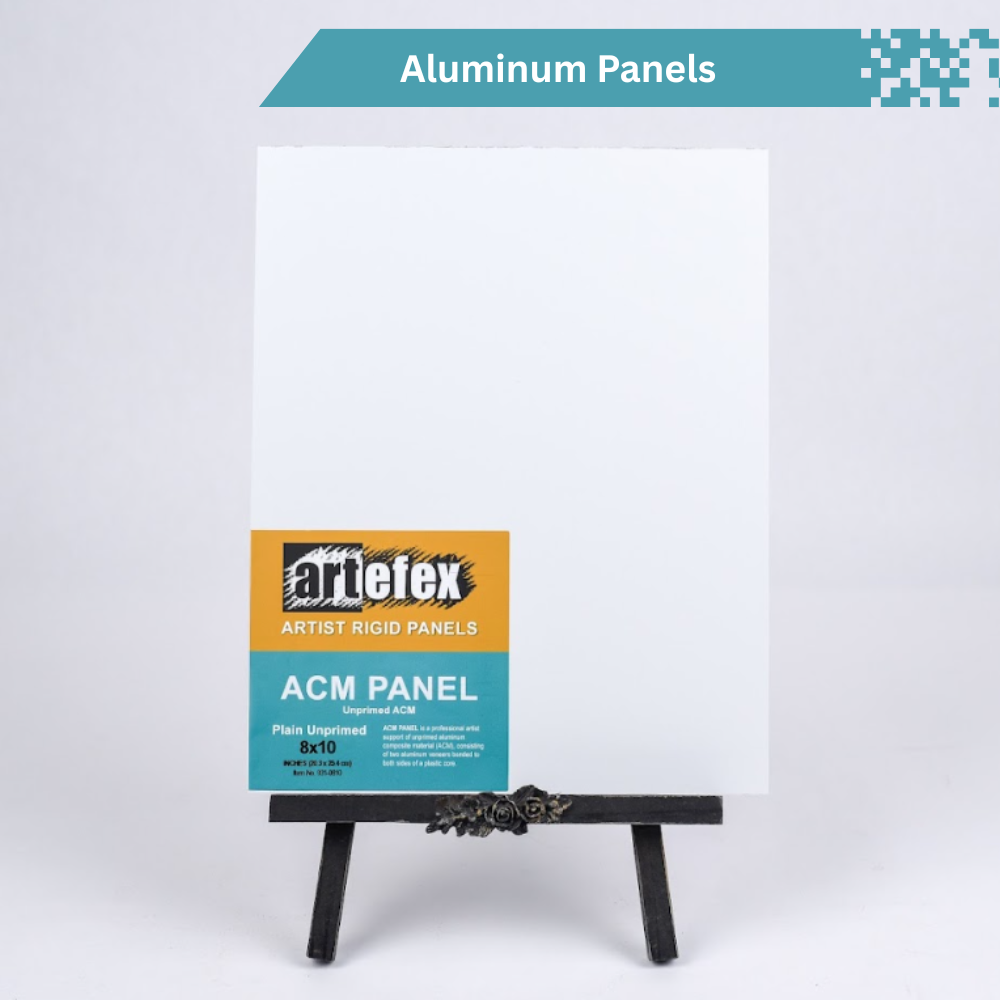
I collaborated with Artefex to create a custom Jess Currier Panel Bundle, which includes the exact panels I use in my teaching demos and my own studio practice. They’re fine oil-primed linen, which means no prep drama, no canvas sag, and no guesswork — just a smooth, archival surface that makes brushwork a dream.
Whether you’re just getting started or refining your technique, these aluminum panels offer the best surface for oil painting. They’re frustration-free, travel-friendly, and truly built to last a lifetime.
And if you’re looking for even more support as you learn, my full online course Intro to Oil Painting is designed to guide you step-by-step through everything from materials to mindset to finished paintings — all at your own pace.
Just keep painting friends,
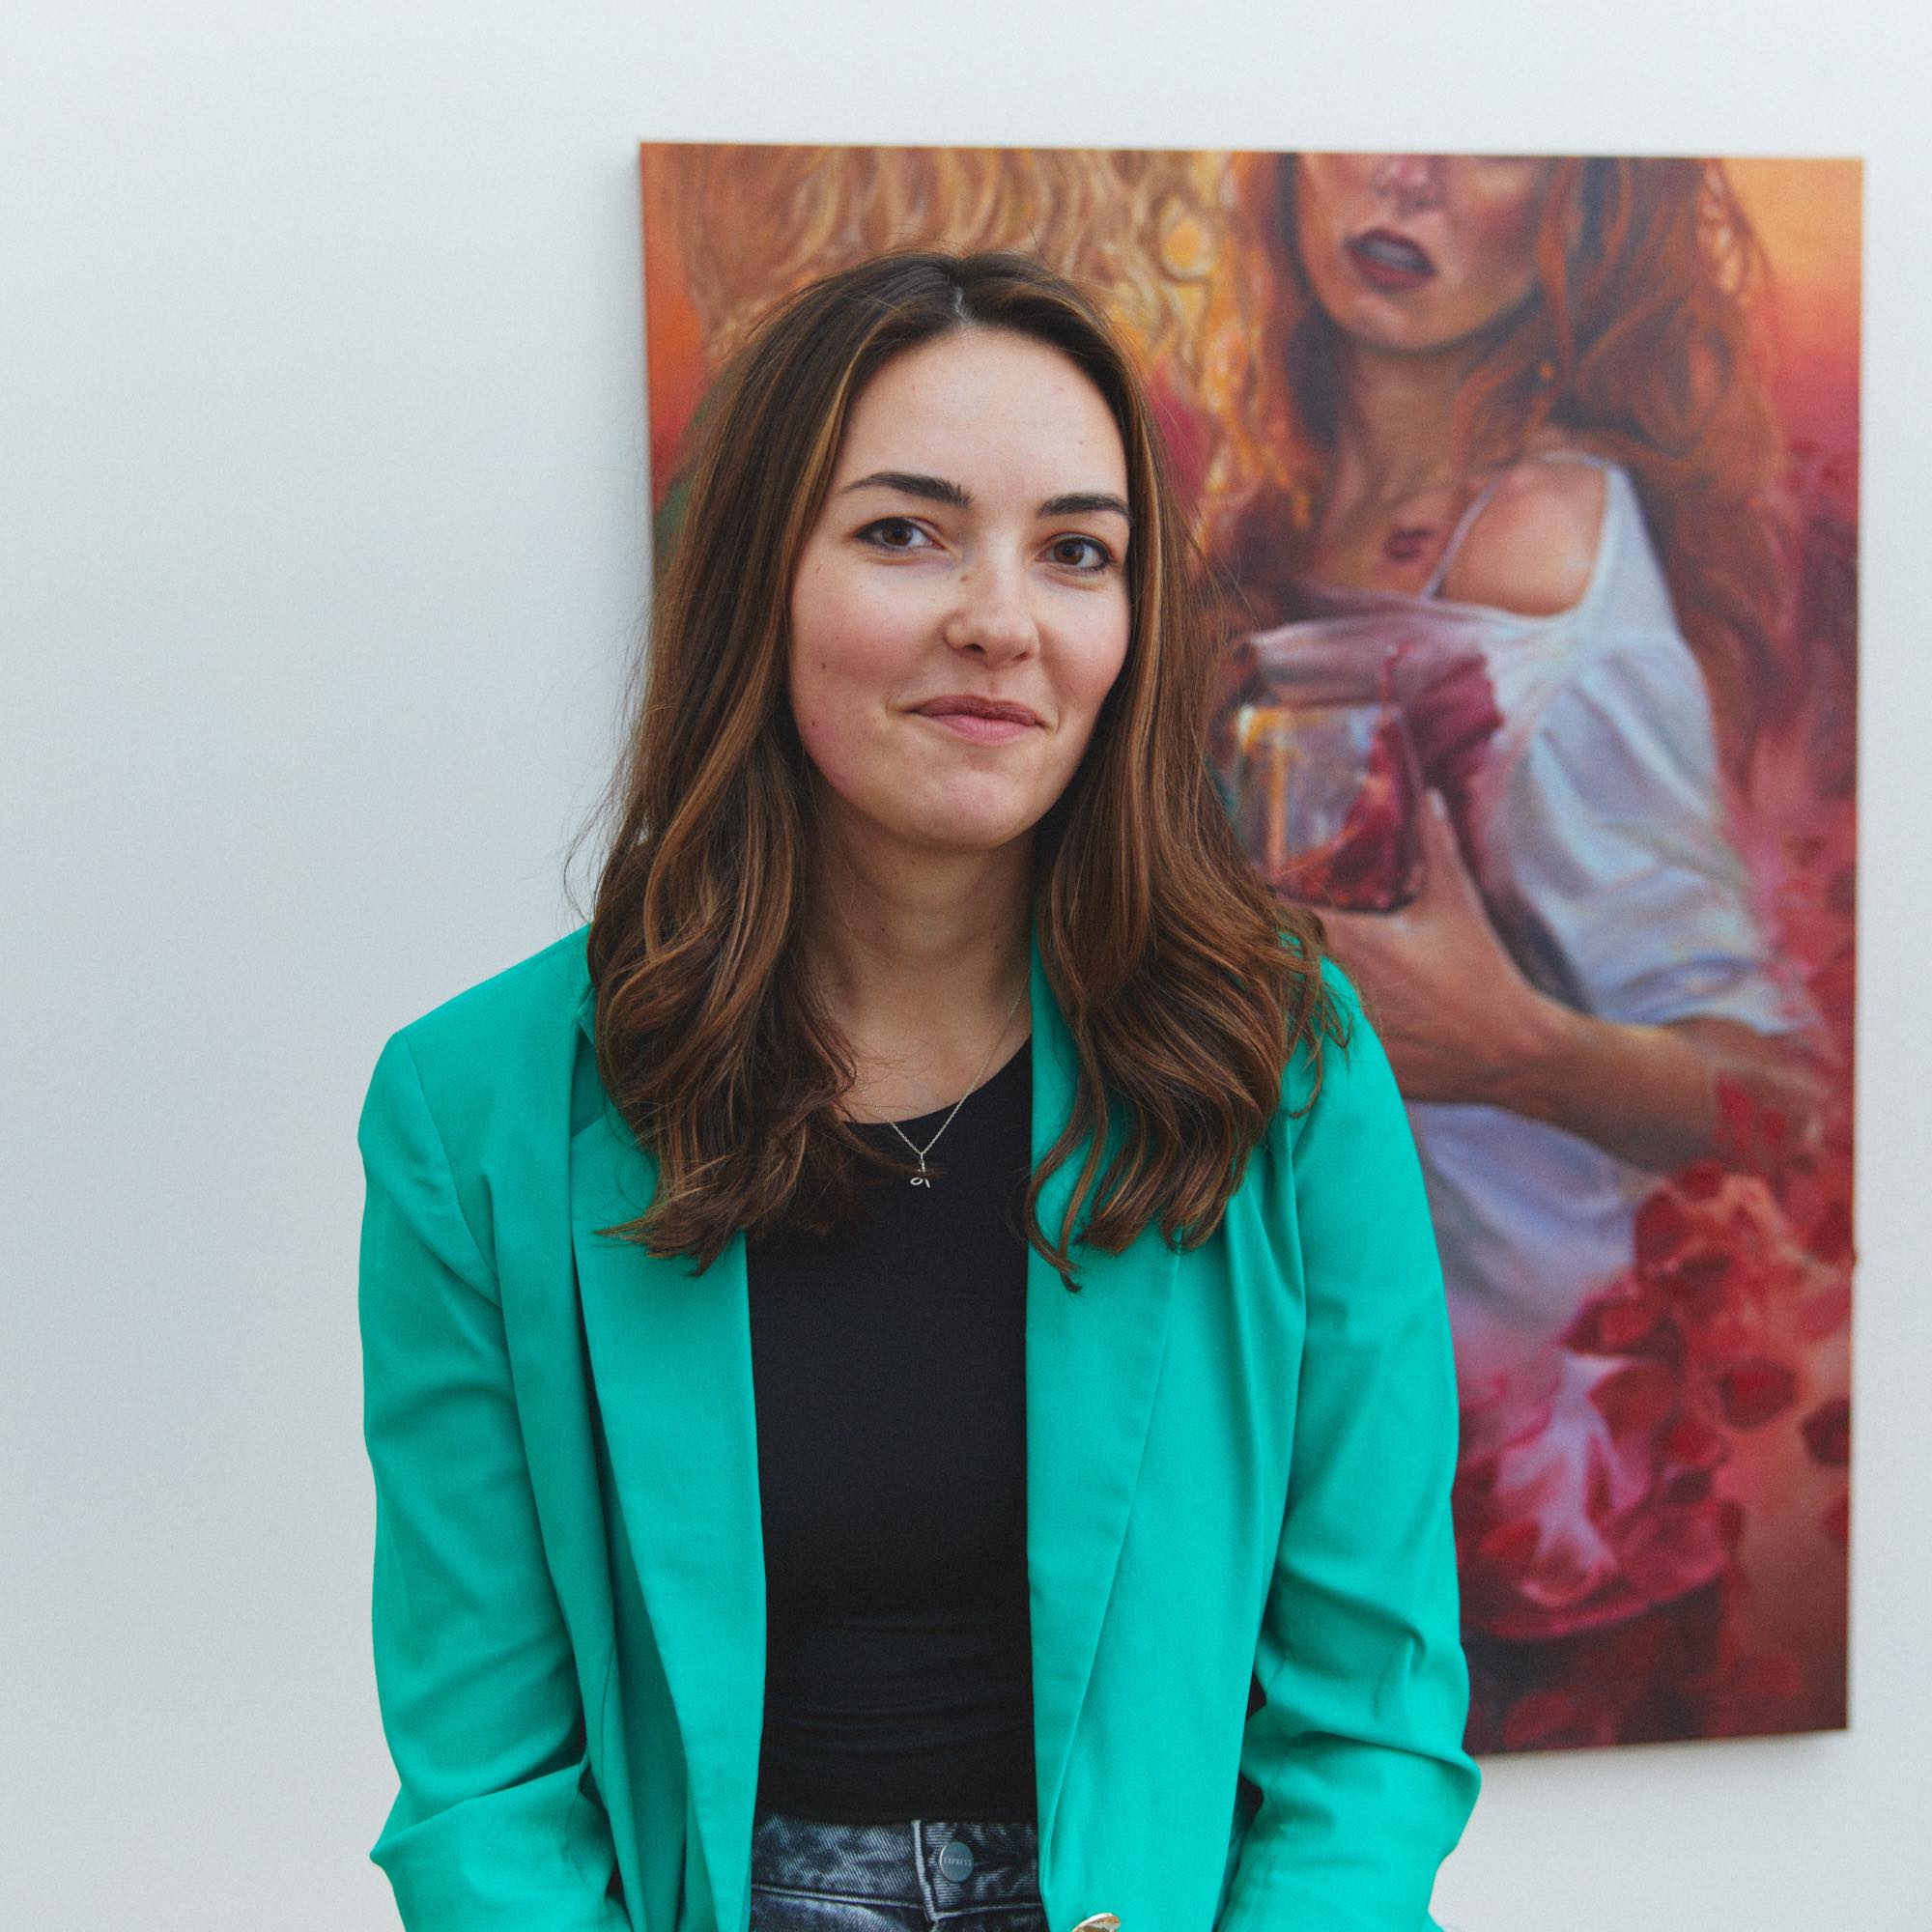
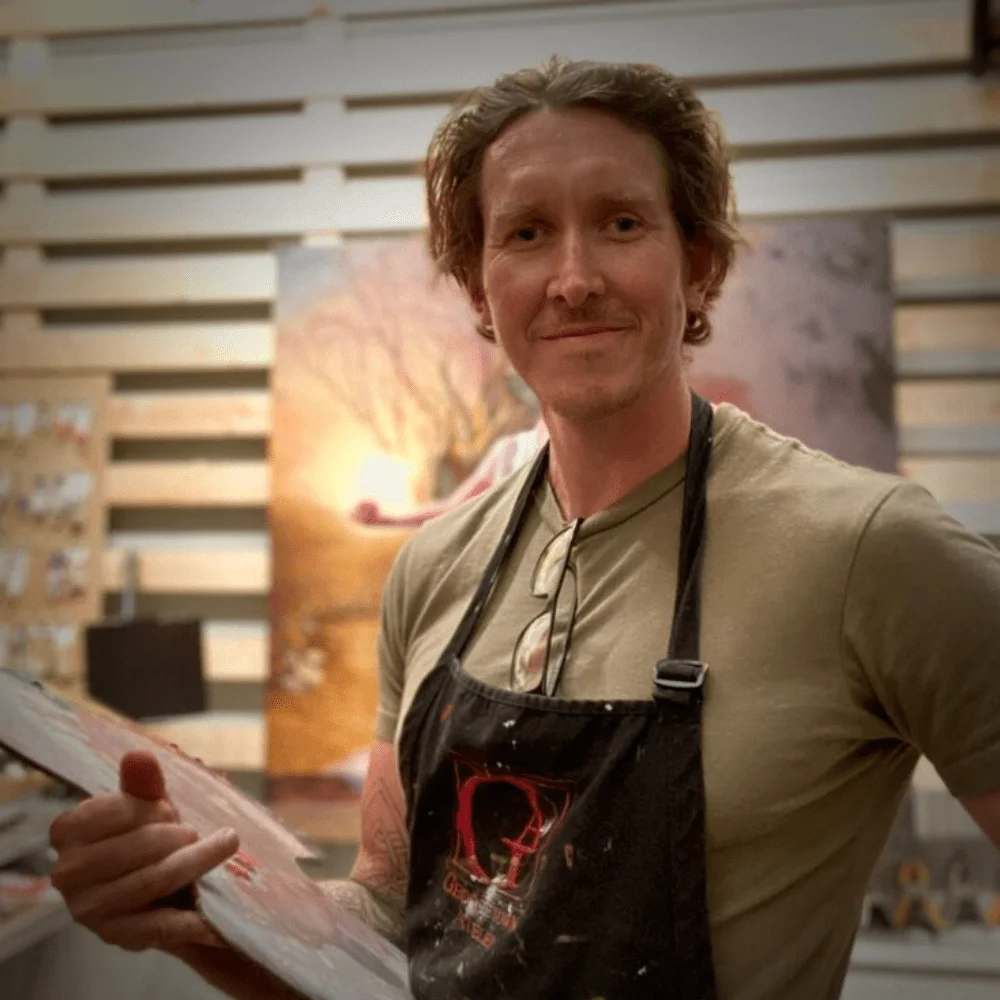
JESS CURRIER